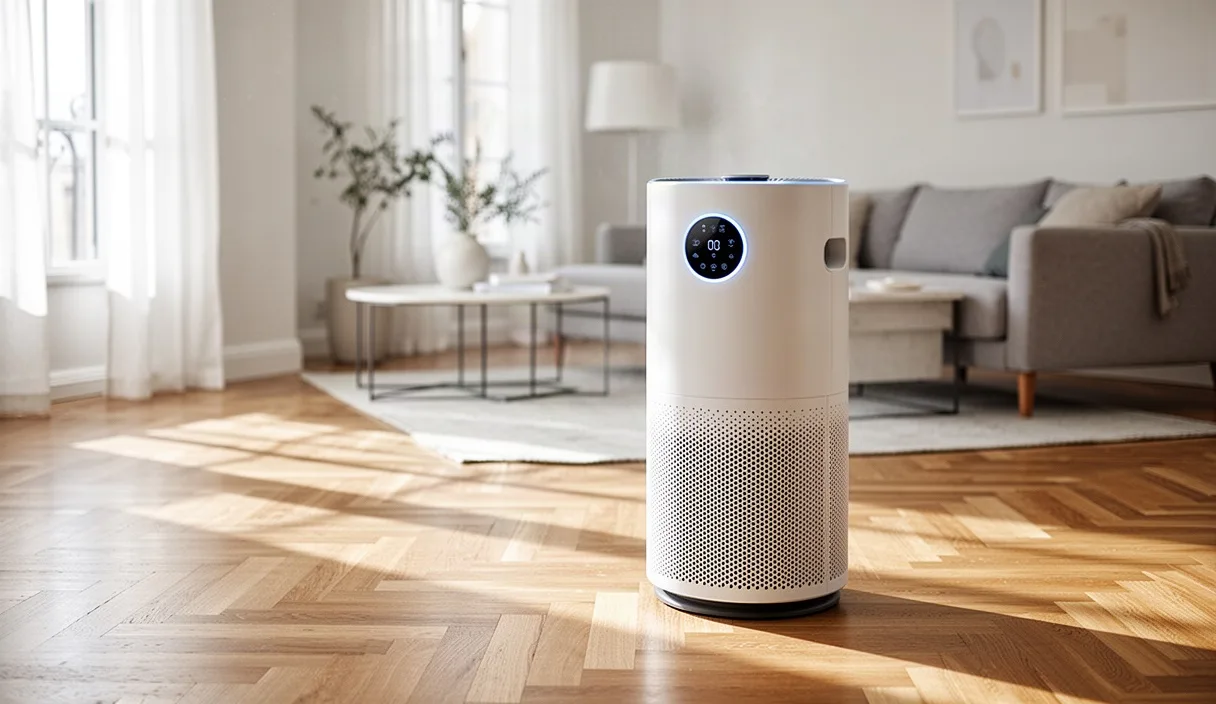
Cold winter weather alters the air inside a home long before the thermostat registers a problem. When freezing outside air infiltrates living spaces and passes through a furnace or baseboard heater, its capacity to hold water increases dramatically, which drives down the relative humidity. Residents notice the shift through small annoyances: chapped lips, static shocks when touching doorknobs, and scratchy throats upon waking. Over weeks of continuous heating, this sustained dryness dries out mucous membranes, shrinks hardwood flooring, and cracks plaster or wood furniture.
Managing indoor air during the winter requires a deliberate balance. Adding too little moisture leaves occupants vulnerable to respiratory irritation and dry skin, while adding too much creates hidden pockets of moisture on cold perimeter walls and window frames, feeding mold colonies. Regulating this environment requires an accurate way to measure moisture, an understanding of how indoor temperature correlates with dew points, and a consistent routine for equipment maintenance.
Why Winter Heating Lowers Indoor Moisture
The core mechanism behind winter dryness is the physics of relative humidity. Relative humidity refers to the percentage of water vapor present in the air compared to the maximum amount the air can hold at that specific temperature. Cold outdoor air holds very little absolute moisture. For example, outdoor air at 25 degrees Fahrenheit and 70 percent relative humidity holds only about two grams of water vapor per cubic meter.
When that same air leaks into a house through structural gaps, window seals, or ventilation grilles, the heating system raises its temperature to 68 or 70 degrees Fahrenheit. Because warm air has a much higher saturation capacity, the actual amount of moisture remains tiny while the relative capacity expands. The resulting indoor relative humidity frequently plunges below 20 percent. At that level, the air behaves like a sponge, drawing water vapor out of living plants, building materials, pets, and human skin.
Forced-air furnaces worsen the issue by circulating air rapidly through hot heat exchangers. While baseboard radiators and cast-iron radiators do not blow air mechanically, they create convective loops that dry out the room similarly. Without a dedicated method for introducing water vapor back into the envelope, typical winter ventilation consistently replaces moisture-rich indoor air with dry, cold exterior air.
Target Humidity Ranges for Respiratory Comfort
For residential living spaces in cold climates, the recommended baseline for indoor relative humidity sits between 32 percent and 45 percent. Maintaining levels within this corridor supports the airway's mucosal lining, which acts as the body's primary mechanical barrier against inhaled particulate matter, bacteria, and viral particles. When air dries below 30 percent, nasal passages lose their mucus layer, small fissures form, and natural cilia clearance slows down.
Pushing humidity higher than 48 percent in winter introduces structural hazards. While 55 percent might feel comfortable to irritated lungs, cold exterior glass and poorly insulated outer walls cannot handle that much ambient vapor. Once indoor vapor contacts a surface cooled below the dew point, liquid condensation pools on window sills and inside exterior wall cavities. Anyone managing asthma, chronic obstructive pulmonary disease, or severe environmental allergies should speak with a physician or certified respiratory therapist to establish personal parameters, as some clinical conditions demand tighter indoor control.
Seasonal adjustments must match external temperatures. When outdoor temperatures plunge toward zero degrees Fahrenheit, dropping the indoor target to 30 percent or 32 percent prevents severe window sweating and hidden framing rot. During mild winter days with temperatures near 40 degrees Fahrenheit, indoor levels can safely climb to 42 percent without risking condensation.
Selecting and Placing a Household Hygrometer
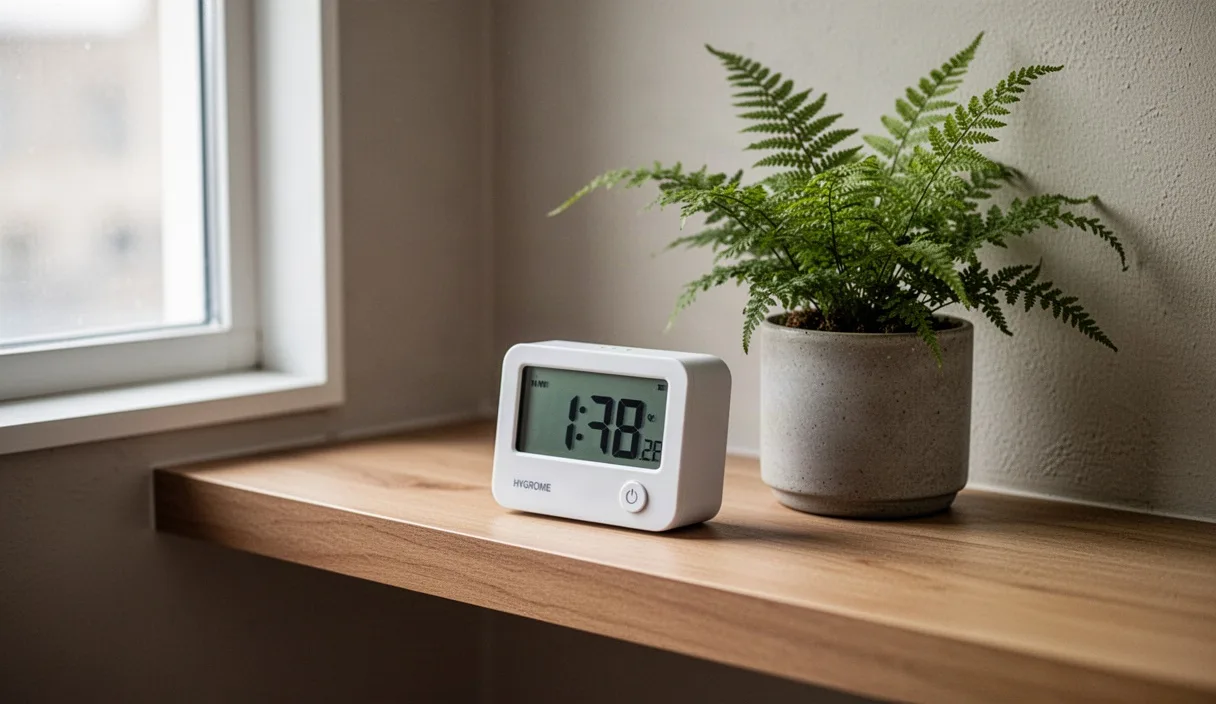
A reliable hygrometer provides the data needed to regulate humidifiers properly. Built-in humidistats on consumer humidifiers are notoriously inaccurate because they measure air within inches of their own wet exhaust. A standalone, dedicated digital hygrometer equipped with an external or internal capacitive sensor provides a truer reading of the ambient room conditions.
Look for instruments that list an accuracy margin of plus or minus 3 percent between 20 percent and 80 percent relative humidity. To verify calibration on a new unit, use a simple kitchen salt test. Place a teaspoon of table salt into a shallow bottle cap, moisten it with a few drops of water until it resembles wet sand without standing water, and seal the cap inside an airtight plastic bag alongside the hygrometer. After eight hours at room temperature, the reading should stabilize at 75 percent. If the display shows 71 percent, note the four-point offset mentally or adjust the calibration dial if the model includes one.
Placement determines whether the readings are useful or misleading. Position the sensor using the following parameters:
- Mount the device between four and five feet above the finished floor, matching the average breathing zone of seated occupants.
- Keep the unit at least six feet away from exterior doors, return air grilles, and furnace supply vents.
- Avoid direct sunlight, which warms the sensor casing and produces falsely depressed humidity values.
- Place the meter on an interior wall rather than an outside-facing exterior wall, which carries a colder thermal signature.
- Do not place the sensor within eight feet of an active humidifier or bathroom door.
Evaporative Humidifiers versus Ultrasonic Misters
Whole-room humidifiers generally split into two distinct mechanical categories: evaporative wick systems and ultrasonic misters. Each handles water output, mineral management, and room distribution through fundamentally different engineering principles.
Evaporative humidifiers pull room air through a porous, saturated paper or composite wick using an internal fan. The air absorbs moisture naturally via evaporation, leaving minerals behind trapped within the wick material. These systems self-regulate to an extent, because as ambient humidity climbs, the evaporation rate off the wick slows down naturally. However, their fans generate continuous white noise, and the wicks require regular descaling or seasonal replacement.
Ultrasonic units use a small metal or ceramic diaphragm vibrating at high frequencies to shatter water into micro-droplets, which a small fan propels out as a visible cool mist. These machines run almost silently and draw very little electrical power. The drawback lies in mineral dispersal. If fed municipal tap water containing dissolved calcium and magnesium, an ultrasonic unit blasts those minerals directly into the breathing air, coating furniture and electronics with an ultra-fine white powder and raising indoor particulate counts. Owners must use demineralized or distilled water, or install specialized demineralization cartridges, to protect indoor air quality.
| Operational Attribute | Evaporative Wick | Ultrasonic Mister |
|---|---|---|
| Mineral Dispersal | Retained inside the wick | Sprayed into the room as white dust |
| Operational Noise | Low to moderate fan noise | Whisper quiet; occasional dripping |
| Power Draw | 15 to 45 watts (fan motor) | 8 to 25 watts (diaphragm and fan) |
| Over-humidification Risk | Low; evaporation rate drops as room saturates | Moderate; continues spraying until turned off |
| Recommended Water Type | Standard tap water with bacteriostat | Distilled, demineralized, or reverse osmosis |
Managing Mold Risks in Poorly Ventilated Corners
Adding water to the air carries one major hazard: winter mold growth. Mold spores require only moisture, an organic food source like drywall paper or wood trim, and temperatures above 40 degrees Fahrenheit to germinate within 48 hours. Exterior room corners and the spaces behind heavy furniture are vulnerable because they suffer from thermal bridging, where structural framing allows cold outdoor temperatures to drop the interior drywall surface below the dew point.
When warm, humid air drifts behind a solid wooden wardrobe pressed flat against an exterior wall, the air cools rapidly in the narrow, stagnant gap. The relative humidity in that specific two-inch pocket can reach 80 percent even while a hygrometer in the center of the room reads a safe 36 percent. Within weeks, black and dark green spotting forms on the baseboards and wallboard.
Preventing corner condensation involves basic mechanical adjustments to improve air movement and eliminate cold pockets:
- Pull sofas, armoires, and beds at least three to four inches away from all perimeter exterior walls to permit vertical air convection.
- Keep interior doors open between bedrooms, hallways, and living spaces to distribute warm air evenly throughout the envelope.
- Run ceiling fans clockwise on the lowest speed setting to push rising warm air down without creating a chilly downward breeze.
- Monitor double-pane windows for sustained moisture along the lower aluminum spacer bar; wipe standing droplets daily with an absorbent cloth.
- Seal drafty baseboards and electrical outlets on outside walls with foam gaskets and paintable acrylic caulk to raise local surface temperatures.
Routine Cleaning Checklist for Water Reservoirs
Humidifiers operate warm, wet environments that encourage bacterial biofilms and fungal slime if neglected. Inhaling aerosolized microbial matter can trigger humidifier fever or worsen existing bronchial issues. Establish a strict two-tier cleaning schedule for every freestanding unit in the house.
Perform daily maintenance in under three minutes: empty leftover water entirely, rinse the basin thoroughly with fresh water, and wipe the edges with a clean microfiber rag before refilling with fresh water. Never top off yesterday's water, as settled organic dust serves as an immediate food source for bacterial colonies.
Conduct a deep descaling and sanitizing process once every seven days using common household supplies. Do not mix chemical agents; perform the descaling phase first, rinse, and follow with the disinfection phase.
- Disassemble the components: Unplug the unit, remove the tank, discard any existing water, and take out the evaporative wick or demount the ultrasonic mist nozzle. Set the paper wick aside on a clean plate; do not wash paper wicks in chemical solutions.
- Dissolve mineral scale: Pour two cups of undiluted white distilled vinegar into the base basin and reservoir. Let it soak for 25 minutes to break down hard calcium and limescale encrustations. Scrub the ultrasonic transducer and tight corners gently with a soft-bristled toothbrush. Pour the vinegar out and rinse the plastic components until the sour smell subsides.
- Sanitize surfaces: Add one teaspoon of plain, unscented household bleach to one gallon of water, or use undiluted 3 percent hydrogen peroxide. Fill the water reservoir halfway with this solution, swish it across all inner walls, and let it rest for 20 minutes to eliminate remaining bacterial colonies.
- Rinse and dry: Flush all reservoir parts with cold tap water until no chemical odor remains. Wipe the exterior clean and allow the parts to air-dry completely on a clean towel before reassembly.
Common Mistakes
A frequent error is relying entirely on a humidistat integrated into an appliance base. These sensors read the high-moisture exhaust immediately exiting the nozzle, causing the machine to cycle off long before the room reaches the target level. Always position an independent meter across the room to verify real conditions.
Another widespread mistake is running ultrasonic humidifiers with hard municipal water without inline filtration. The resulting fine mineral dust bypasses upper airway filters and settles deep into lung tissue, while also settling onto floor coverings and sensitive computer cooling fans. If distilled water is cost-prohibitive, choose an evaporative model instead.
Homeowners often push humidity levels too high during severe cold snaps. When outdoor temperatures fall toward single digits, indoor humidity above 38 percent will run down cold window panes and saturate wooden sills. Finally, soaking disposable paper wicks in bleach or vinegar destroys their antimicrobial coating and breaks down the cellulose structure, ruining their capillary action within days. Replace wicks according to manufacturer timelines or whenever they become stiff with mineral deposits.
Practical Next Steps
Begin by purchasing two basic digital hygrometers and place one in the main living space and one in the primary bedroom. Leave them undisturbed for 24 hours to establish a reliable baseline measurement of your home's current winter moisture levels.
Inspect your window trim and perimeter baseboards for existing condensation, peeling paint, or dark mildew spotting. If moisture is present, refrain from adding humidification until you address air leaks and adjust overall room ventilation. If baseline humidity sits below 30 percent and structural surfaces are clean and dry, choose an evaporative or ultrasonic unit sized specifically to the square footage of the targeted room. Integrate tank drainage into your morning routine, and mark a weekly descaling session on the household calendar to keep indoor air clean, comfortable, and stable throughout the cold season.