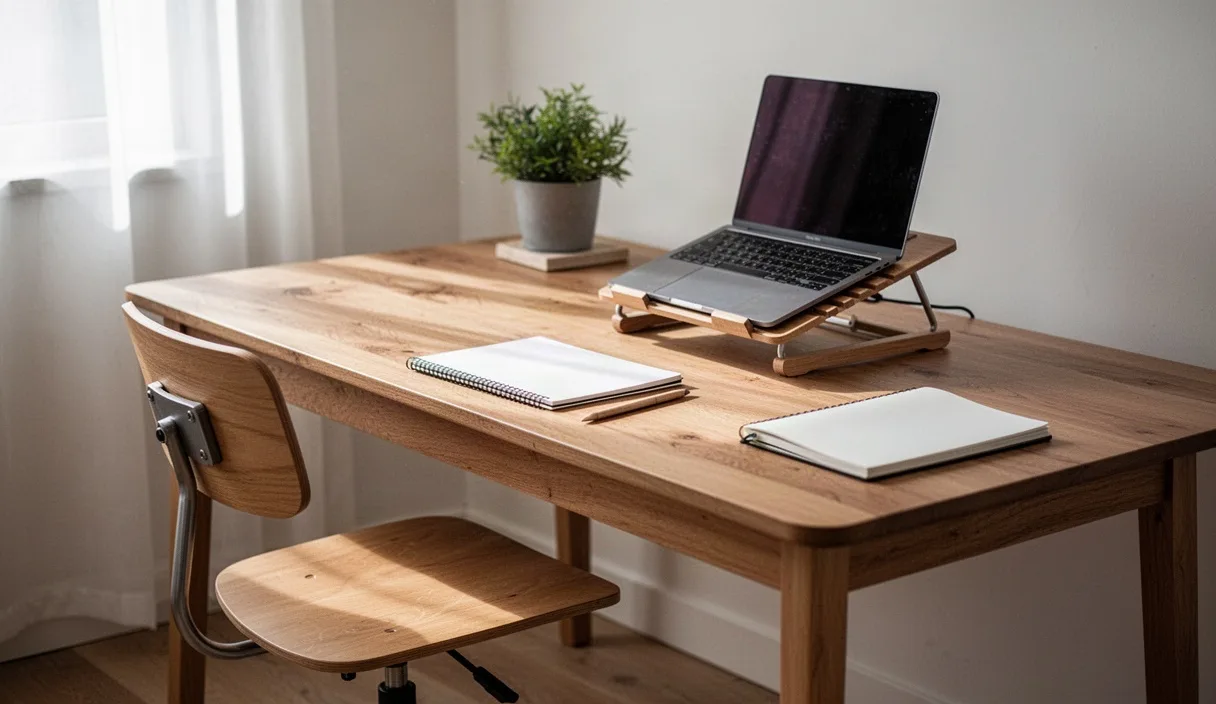
Most home workspaces emerge out of immediate necessity rather than ergonomic planning. Kitchen tables, wooden dining chairs, low coffee tables, and deep living room sofas frequently double as full-time workstations. While these pieces of furniture serve their primary household functions well, they rarely match the specific dimensional requirements of sustained computer work. The result over days and weeks is often a slow drift into slouching, shoulder shrugging, and persistent musculoskeletal tension.
You do not need an expensive commercial office chair or a mechanized standing desk to achieve a supportive work setup. By understanding the mechanical principles of neutral body alignment, you can reconfigure standard household items to support your musculoskeletal system. With firm cushions, bath towels, hardbound books, and sturdy storage boxes, you can modify everyday furniture to create a workstation that protects your joints and minimizes fatigue throughout long working sessions.
Defining Neutral Posture for Long Seated Sessions
Neutral posture is the balanced alignment of the body where joints experience the least amount of mechanical stress, muscles operate at their optimal resting length, and the natural curves of the spine are preserved. The human spine possesses three primary curves: an inward curve at the neck (cervical lordosis), an outward curve at the upper back (thoracic kyphosis), and an inward curve at the lower back (lumbar lordosis). When you sit without support, the pelvis tends to tilt backward, flattening the lumbar curve and forcing the head and shoulders forward to counterbalance your weight.
Maintaining a neutral sitting posture requires specific spatial relationships between your body and your work surface. Your ears should stack vertically above the tips of your shoulders, rather than jutting forward toward the display. Your shoulders should rest relaxed, without hunching upward toward your ears or collapsing inward across your chest. Your elbows should bend at an angle between 90 degrees and 105 degrees, hanging close to your torso rather than reaching outward to touch the desk.
At the lower body, your hips should bend at an angle slightly greater than 90 degrees, which keeps the pelvis neutral and prevents hamstring tightness from pulling on the lower back. Your knees should sit at or slightly below hip level, with an open clearance of two to three fingers between the back of your knees and the edge of your seat. Your feet must rest firmly on a solid surface, transferring a portion of your upper body mass directly into the floor instead of suspending that weight across your lower back.
If you experience persistent numbness, tingling in your extremities, or chronic sharp pain, consult a physical therapist, orthopedic specialist, or occupational health professional. Ergonomic adjustments can reduce physical strain, but they do not replace specialized clinical diagnosis or medical rehabilitation for pre-existing conditions.
Adjusting Chair Height with Household Cushions
Standard dining chairs have a fixed seat height, typically around 18 inches from the floor, paired with flat, unpadded wooden or metal bases. When you sit on a hard, flat surface for hours, your sit bones (ischial tuberosities) endure intense pressure, which encourages you to slouch onto your tailbone. Furthermore, if the chair sits too low relative to your table, your shoulders must hike upward every time you place your hands on your keyboard.
To correct this height discrepancy, use firm, dense padding rather than soft, plush pillows. Soft down cushions compress completely under body weight, offering no sustained lift and creating an unstable foundation that forces your core muscles to work continuously just to keep you upright.
Follow this sequence to modify your chair base and lumbar region:
- Selecting the base layer: Choose a firm, high-density foam chair pad, a tightly folded wool blanket, or a firm yoga bolster. Place it flat on the seat pan so that your hips sit higher, allowing your elbows to meet the table surface at a comfortable 90-degree angle.
- Stabilizing the pelvis: If your pelvis still rolls backward, fold a hand towel into a small wedge and place it under the rear third of your sit bones. This subtle forward tilt restores your natural lumbar arch without active muscular exertion.
- Building a lumbar roll: Take a standard bath towel, fold it in half lengthwise, and roll it tightly into a cylinder roughly 4 to 5 inches in diameter. Secure the roll with two rubber bands or hair ties.
- Positioning the roll: Place the rolled towel across the small of your back, roughly level with your waistband or beltline. It should fill the hollow space between your spine and the chair back, offering firm contact without shoving your torso forward.
| Material Used | Support Level | Primary Function | Durability During Day |
|---|---|---|---|
| Folded Wool Blanket | High | Seat height adjustment | Maintains height for 6 to 8 hours |
| Standard Bed Pillow | Low | Not recommended for seat pan | Flattens within 30 minutes |
| Rolled Bath Towel | Medium to High | Lumbar lordosis support | Holds shape; easily re-rolled |
| Yoga Block (Foam) | Very High | Firm pelvic lift or footrest | Does not compress under weight |
Positioning the Screen to Prevent Neck Flexion
Looking down at a screen is the single most common cause of neck and upper back pain in remote work setups. The average adult head weighs between 10 and 12 pounds in a neutral, upright position. Tilting the head forward by just 15 degrees increases the gravitational load on the cervical spine to approximately 27 pounds. At a 45-degree downward tilt, common when working directly on a laptop sitting flat on a table, the cervical spine bears nearly 49 pounds of mechanical load.
To eliminate this strain, your primary display must sit directly in front of you, with the top line of text on your screen positioned at or roughly one inch below eye level. When looking straight ahead with a level chin, your gaze should naturally fall across the top third of the monitor. If you wear bifocal or progressive lenses, lower the monitor by an additional two to three inches to prevent yourself from tilting your head backward to read through the lower portion of your glasses.
Laptop computers present a severe ergonomic conflict because the screen and keyboard are physically connected. Raising the screen to eye level forces your hands too high, while lowering the keyboard to elbow height forces your neck to bend down. You must separate these two components. Place your laptop on an elevated, stable platform and connect a separate external keyboard and mouse.
For screen risers, gather thick, sturdy objects that will not tip or wobble. Hardcover reference books, large textbooks, reams of printer paper, or a sturdy inverted wooden crate provide excellent stability. Measure the distance from your desk to your eye level while seated in your modified chair, then stack your materials until the display reaches the target height. Place the screen roughly an arm's length away from your face, or approximately 20 to 28 inches, so you can read text clearly without leaning your head forward.
Aligning Forearms and Wrists at the Keyboard
Standard dining tables and desks typically measure between 28 and 30 inches from the floor, a dimension designed for writing by hand or dining, not for typing. For an individual of average height, this surface height is often two to three inches too tall. Typing on a high surface forces you to elevate your shoulders and flare your elbows outward, or rest your forearms on the sharp edge of the table, compressing the soft tissues and nerves of your wrists.
Your wrists should remain in a straight, neutral position while typing, forming an uninterrupted line with your forearms. Avoid wrist extension (bending the hands backward toward the ceiling) and wrist deviation (angling the hands outward to the left or right). If your keyboard has small plastic kickstands on the underside, fold them down flat. Angling the back of a keyboard upward forces your wrists into extension, increasing pressure within the carpal tunnel.
To protect your arms and wrists at a standard table, apply these practical adjustments:
- Raise your seating base: Add enough firm padding to your chair so your forearms rest completely parallel to the floor when your fingers touch the home row keys.
- Cushion the desk edge: If the edge of your dining table has a sharp, square corner, place a folded washcloth or a strip of soft fabric beneath your forearms to prevent contact stress against your tendons and blood vessels.
- Avoid resting while typing: Keep your wrists floating lightly above the desk surface while active strokes are occurring. Rest the heels of your hands on your cushioned pad only when you pause between sentences.
- Position the mouse closely: Place your mouse or trackpad directly adjacent to the edge of your keyboard. Reaching outward for a mouse strains the rotator cuff muscles and pulls your neck out of alignment.
Foot Placement and Makeshift Footrests
Raising your chair height with cushions to match a high table creates a secondary problem: your feet may no longer rest flat on the floor. Allowing your feet to dangle, or tucking them backward underneath the chair frame, introduces significant strain. Dangling legs cause the front edge of the seat pan to press into the underside of your thighs, restricting venous return from the lower legs and compressing the sciatic nerve. Tucking your feet backward creates excessive knee flexion and tilts your pelvis forward, which accentuates your lumbar curve excessively.
Your feet must be fully supported so that your thighs remain roughly parallel to the floor, with the pressure evenly distributed across the entire underside of your legs. If your heels or toes lift off the ground after you adjust your chair height, you must construct a makeshift footrest immediately.
A functional footrest can be constructed using everyday containers and firm household objects. Look for items that can support downward pressure without bending or sliding across the floor:
- Assessing the height gap: Sit fully back in your adjusted chair with your shoulders relaxed and elbows bent at 90 degrees. Measure the distance between the soles of your shoes and the floor. This measurement dictates the exact height of your footrest, which usually ranges between two and five inches.
- Selecting the platform: Two unopened reams of copy paper taped together make an exceptionally stable footrest. Alternatively, use a sturdy wooden wine crate, a heavy, flat-topped toolbox, or an inverted plastic storage tote reinforced with books inside.
- Preventing slippage: Place a non-slip rubber shelf liner or a rubber-backed bath mat underneath your footrest to stop it from sliding away across hardwood or tile floors when you apply pressure.
- Checking the angle: Ensure the top surface is wide enough to accommodate both feet flat, hip-width apart. If you prefer an angled rest, slip a thin book under the back edge of your paper reams to create an incline of roughly 10 to 15 degrees.
Establishing Micro-Break Intervals During the Day
Even an anatomically perfect posture becomes harmful if held statically for extended periods. Static sitting restricts local blood flow, accelerates spinal disc dehydration, and causes postural muscles to fatigue. The human body requires regular mechanical variation to circulate fluid through the intervertebral discs and reduce sustained muscle contraction.
Implement a structured micro-break pattern throughout your working hours. Work in 30-minute cycles: spend roughly 28 minutes engaged in focused desk tasks, followed by a mandatory 2-minute movement interval. You do not need an elaborate fitness routine for this interval to be effective; the goal is simply to change your joint angles and allow muscles to lengthen.
Use this simple reset sequence during your two-minute break:
- Standing extension: Stand up completely from your chair. Place your hands on your lower back near your hips and gently arch backward by 10 to 15 degrees, reversing the forward flexion of seated work. Hold this position for five seconds, breathing normally, and repeat three times.
- Chest opener: Clasp your hands behind your back, or hold a dish towel between your hands behind you if your shoulders are tight. Roll your shoulders down and back, gently drawing your shoulder blades together to open the anterior chest muscles. Hold for 15 seconds.
- Cervical retraction: Look straight forward, place two fingers on your chin, and gently guide your head backward as if making a double chin, keeping your gaze level. This glides your cervical vertebrae backward and resets the neck muscles from forward head carriage. Hold for three seconds, release, and repeat five times.
- Visual reset: Direct your gaze toward an object at least 20 feet away through a window or across the room for 20 seconds. This relaxes the ciliary muscles inside your eyes, which become strained from constant short-distance screen focus.
Common Mistakes in Improvised Setups
When adapting household furniture, it is easy to introduce new postural hazards while trying to solve existing ones. Being aware of these missteps helps you maintain an effective, safe workstation.
- Relying on soft, deep sofas: Working from a couch rounds the entire spine into a continuous C-shaped curve, collapses the chest, and places maximum strain on the neck. Sofas cannot be effectively adapted for long-term computer work.
- Placing documents flat beside the keyboard: Looking down and to the side at printed notes twists your cervical spine repeatedly. Use a cookbook stand, a music stand, or an easel clip placed directly beside your elevated monitor to keep reference material at eye level.
- Crossing your legs at the knees or ankles: Crossing your legs tilts the pelvis unevenly, twisting the lower lumbar vertebrae and reducing circulation in the lower extremities. Keep both feet flat on your footrest or the floor.
- Over-tightening your lumbar roll: A roll that is too thick pushes your lumbar spine into hyper-lordosis, pinching the posterior spinal joints and causing lower back soreness. Your roll should fill the gap comfortably, not shove you forward.
Practical Next Steps for Workspace Setup
Transforming your workspace does not require dedicated carpentry skills or immediate equipment purchases. Begin with an objective assessment of your current workstation using a mirror or by having someone take a side-profile photograph of you while you work. Look for the alignment markers: ears over shoulders, elbows at roughly 90 degrees, wrists flat, hips slightly above knees, and feet resting firmly on a flat surface.
Gather your materials before your next workday starts. Collect two firm bath towels, two or three large books, a sturdy cardboard box or paper reams, and your external input devices. Implement one change at a time, starting with your seat height and foot support, as these dictate the positioning of everything above them. Once your lower body is stable and your arms align with the table surface, raise your screen to eye level.
Give your body three to four days to adjust to any ergonomic modification. Muscles accustomed to slouching may feel slightly fatigued as they adapt to supporting your neutral curves. However, if you experience worsening physical symptoms, sharp pain, or functional limitations, discontinue your setup adjustments and schedule an evaluation with an ergonomics specialist or a licensed physical therapist.